

What are Cloud Functions?
Cloud Functions is a unique feature of Stackchat Studio whereby you can make some JavaScript code(of your choosing) to be available to your chatbot. Think of it as microservices for your chatbot.
Building a platform that allows businesses to better engage with their customers means ensuring that they have the right tools to deliver the best user experience for their customers. To that end, it is quite a daunting task to account for every single use case that a business might have. Which is why we have Cloud Functions - a tool to allow businesses to customise their chatbot to their heart's content.
Technically speaking, Cloud Functions is a collection of custom JavaScript code that a bot has access to at runtime. To explain Cloud Functions, I'll using an example. I will also be using the built-in editor so you can easily follow along.
Our scenario: We will be gathering user information and storing them in HubSpot. Once they consent to sign up for our newsletter, we will send them a welcome email.
Bolt ⚡️ - Our Chatbot
I have already made a bot that asks user for their contact information. If you already have a bot ready, you can skip this section.
To get started quickly, I will not be focusing on creating the bot. But I can help you get started. Paste the following CDML into the CDML Editor in Stackchat Studio.
1bot:2 format: chat3 flows:4 - name: Welcome5 entry_flow: true6 flow_elements:7 - message_thread:8 name: Introduction9 entry_element: true10 messages:11 - text:12 text: "Hello, \U0001F916!\n\nI'm Bolt ⚡"13 - user_input_group:14 require_confirmation: false15 items:16 - text:17 slot_name: name18 label: name19 prompt: What's your name?20 - text:21 text: 'Great! Nice to meet you ${name}'22 continue_to: '_:Add to HubSpot'23 - message_thread:24 name: Check for Signup25 quick_nav:26 prompt: Would you like to sign up for our newsletter?27 choices:28 - display_name: Yes ✅29 continue_to: '_:Sign Up for Newsletter'30 - display_name: No ❌31 continue_to: '_:Handle Exit'32 - message_thread:33 name: Sign Up for Newsletter34 messages:35 - text:36 text: Awesome!37 - user_input_group:38 require_confirmation: false39 items:40 - email:41 slot_name: email42 label: email43 prompt: Can I have your email address?44 continue_to: '_:Say Welcome'45 - code:46 name: Say Welcome47 handler: sendWelcomeEmailToUser48 continue_to: 'Welcome:Handle Success'49 - code:50 name: Add to HubSpot51 handler: addUserToHubSpot52 continue_to: 'Welcome:Check for Signup'53 - message_thread:54 name: Handle Exit55 messages:56 - text:57 text: "No problems! Have a nice day \U0001F600"58 - message_thread:59 name: Handle Success60 messages:61 - text:62 text: Thanks for signing up! You should get a welcome email soon.63 - text:64 text: "Have an amazing rest of the day \U0001F600"65
Then, add the following two custom slots - name(type 'text') and email(type 'email').
Writing the Cloud Functions
When you arrive at this section, your bot should have two errors and would look like this:
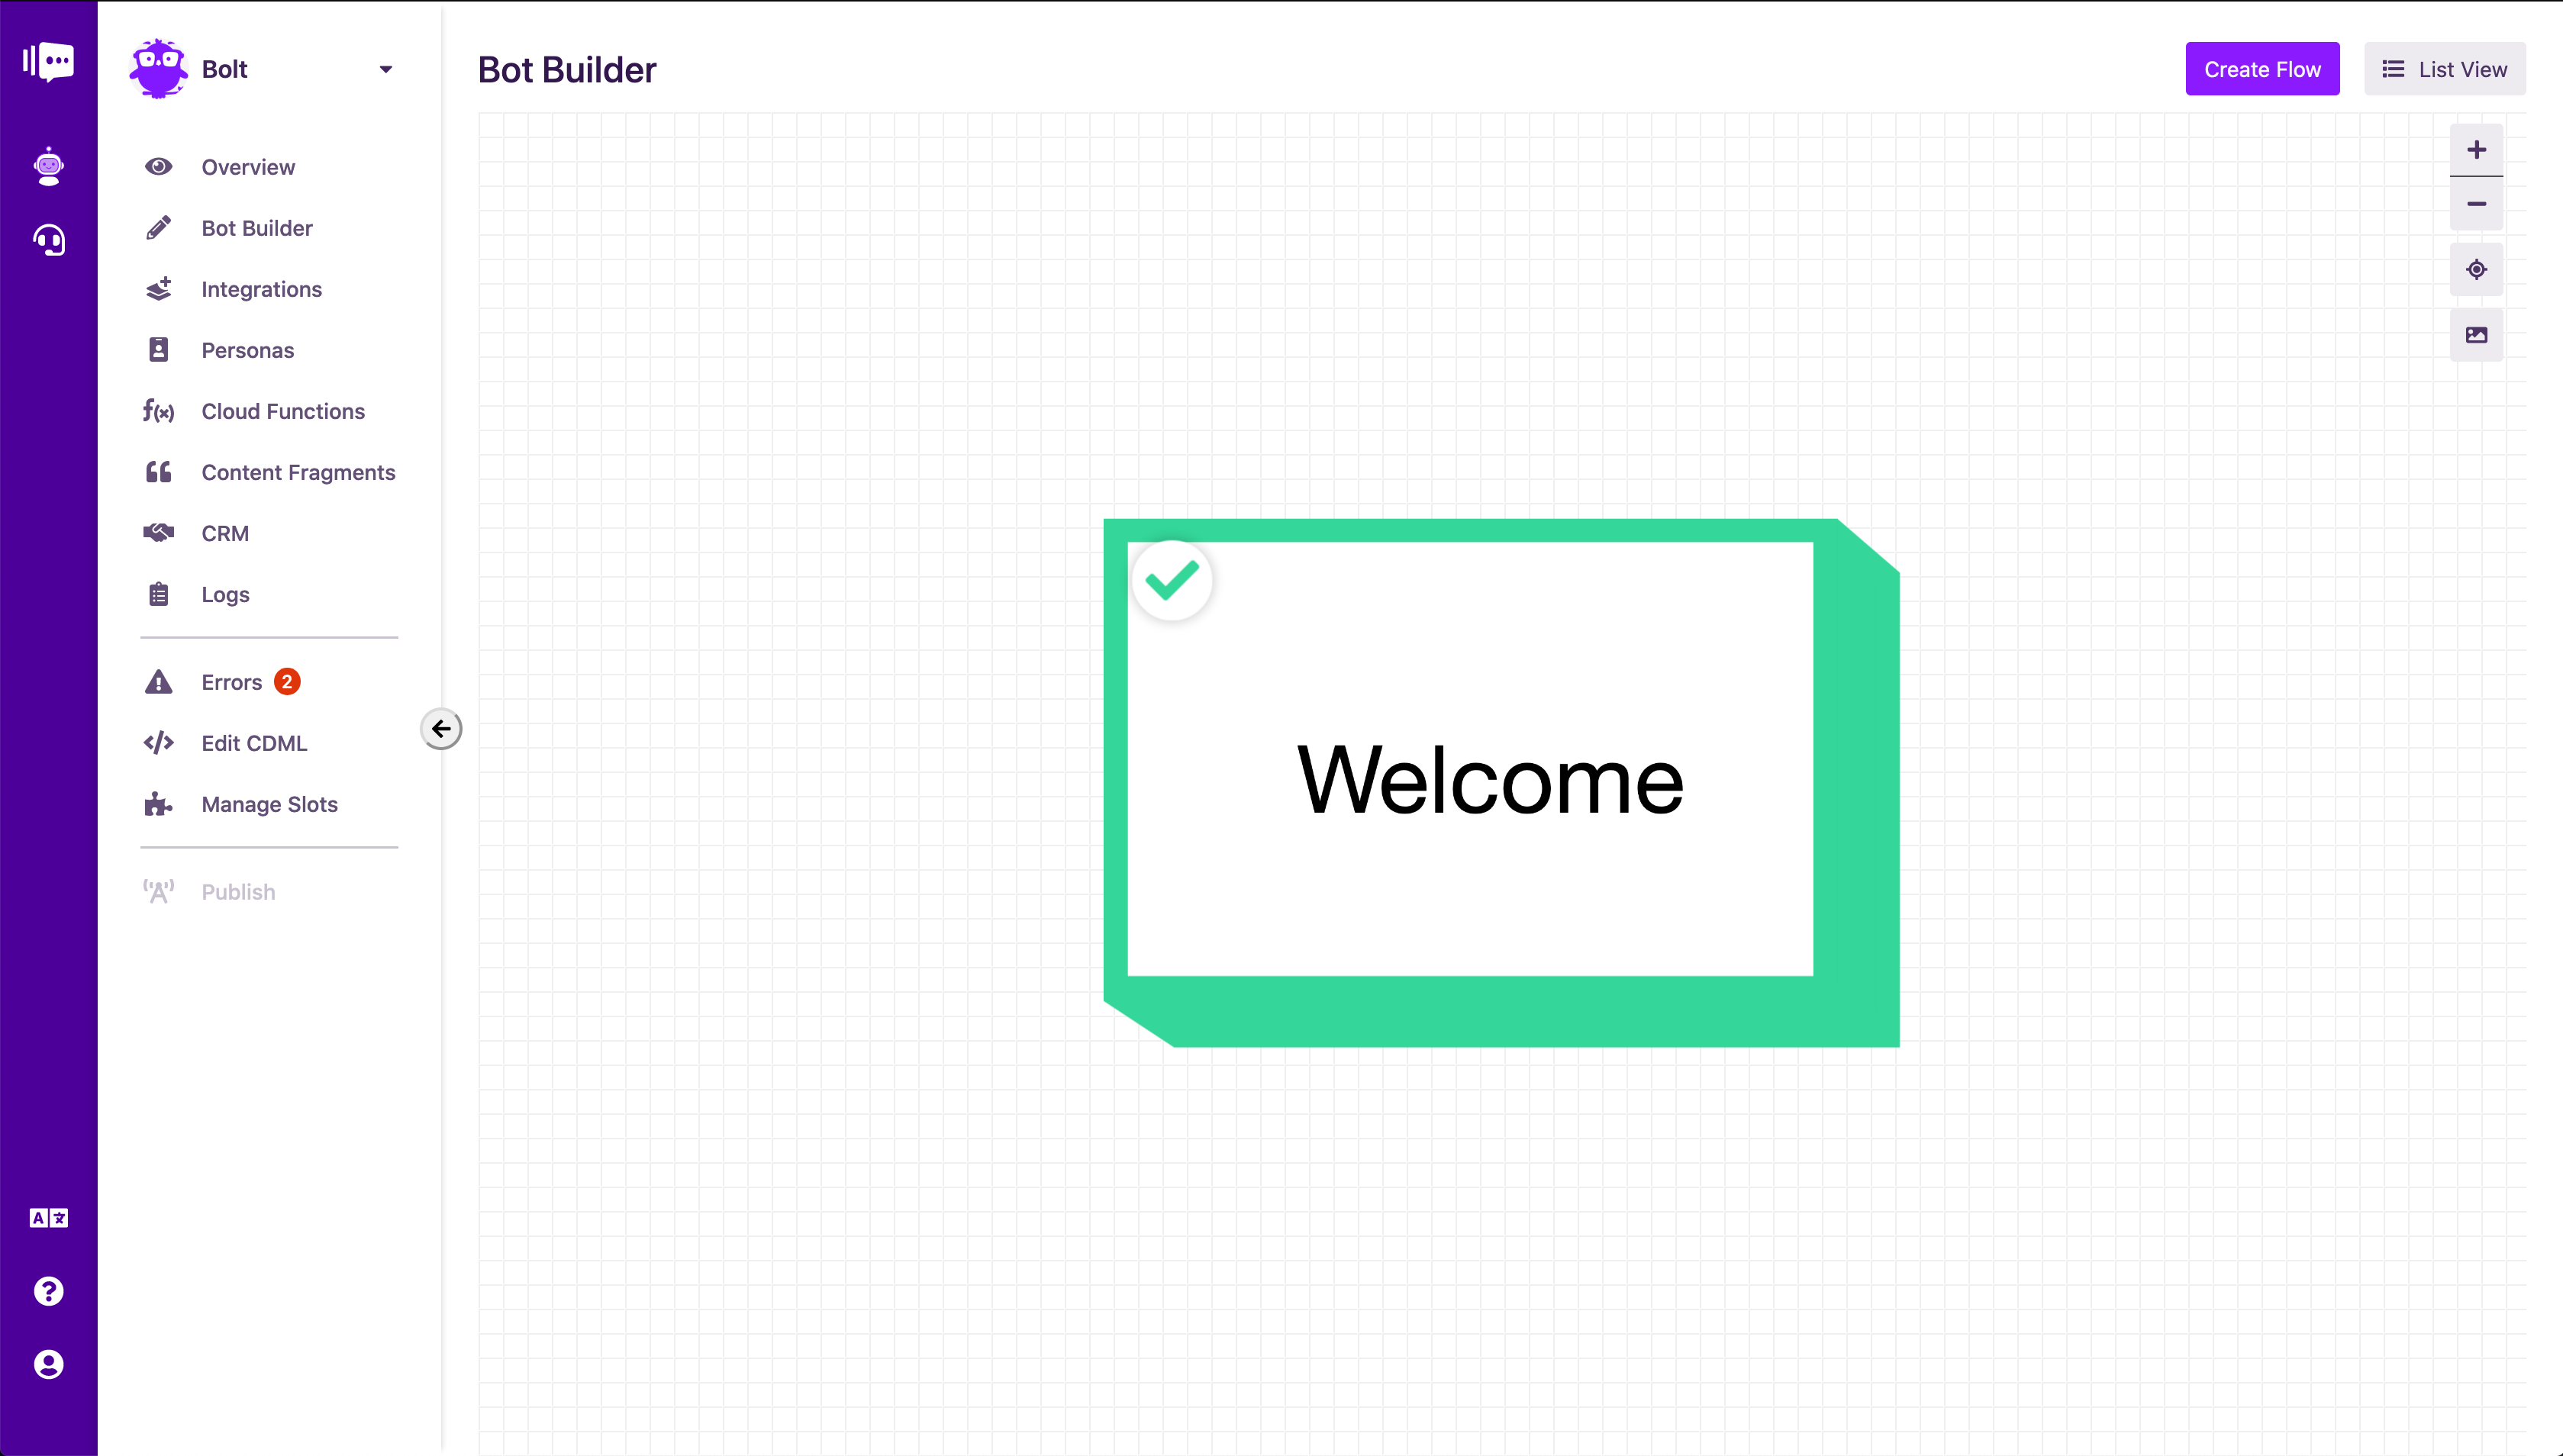 Bolt with two errors
Now, on to Cloud Functions. Let's switch to the Cloud Functions page. If you have any code in there, delete it all and save. We will write all the code we need from scratch.
To be able to store a user's details and send them a welcome email, we will need two functions.
addUserToHubSpot: To be able to add the details to HubSpot.sendWelcomeEmailToUser: To be able to send a welcome email via SendGrid.
Let's add the two functions to our editor and save:
1function addUserToHubSpot(userData) {2 // ...3}45function sendWelcomeEmailToUser(userData) {6 // ...7}89module.exports = {10 addUserToHubSpot,11 sendWelcomeEmailToUser12}13
If you check, both of the errors in your bot should have disappeared and your screen should look like this:
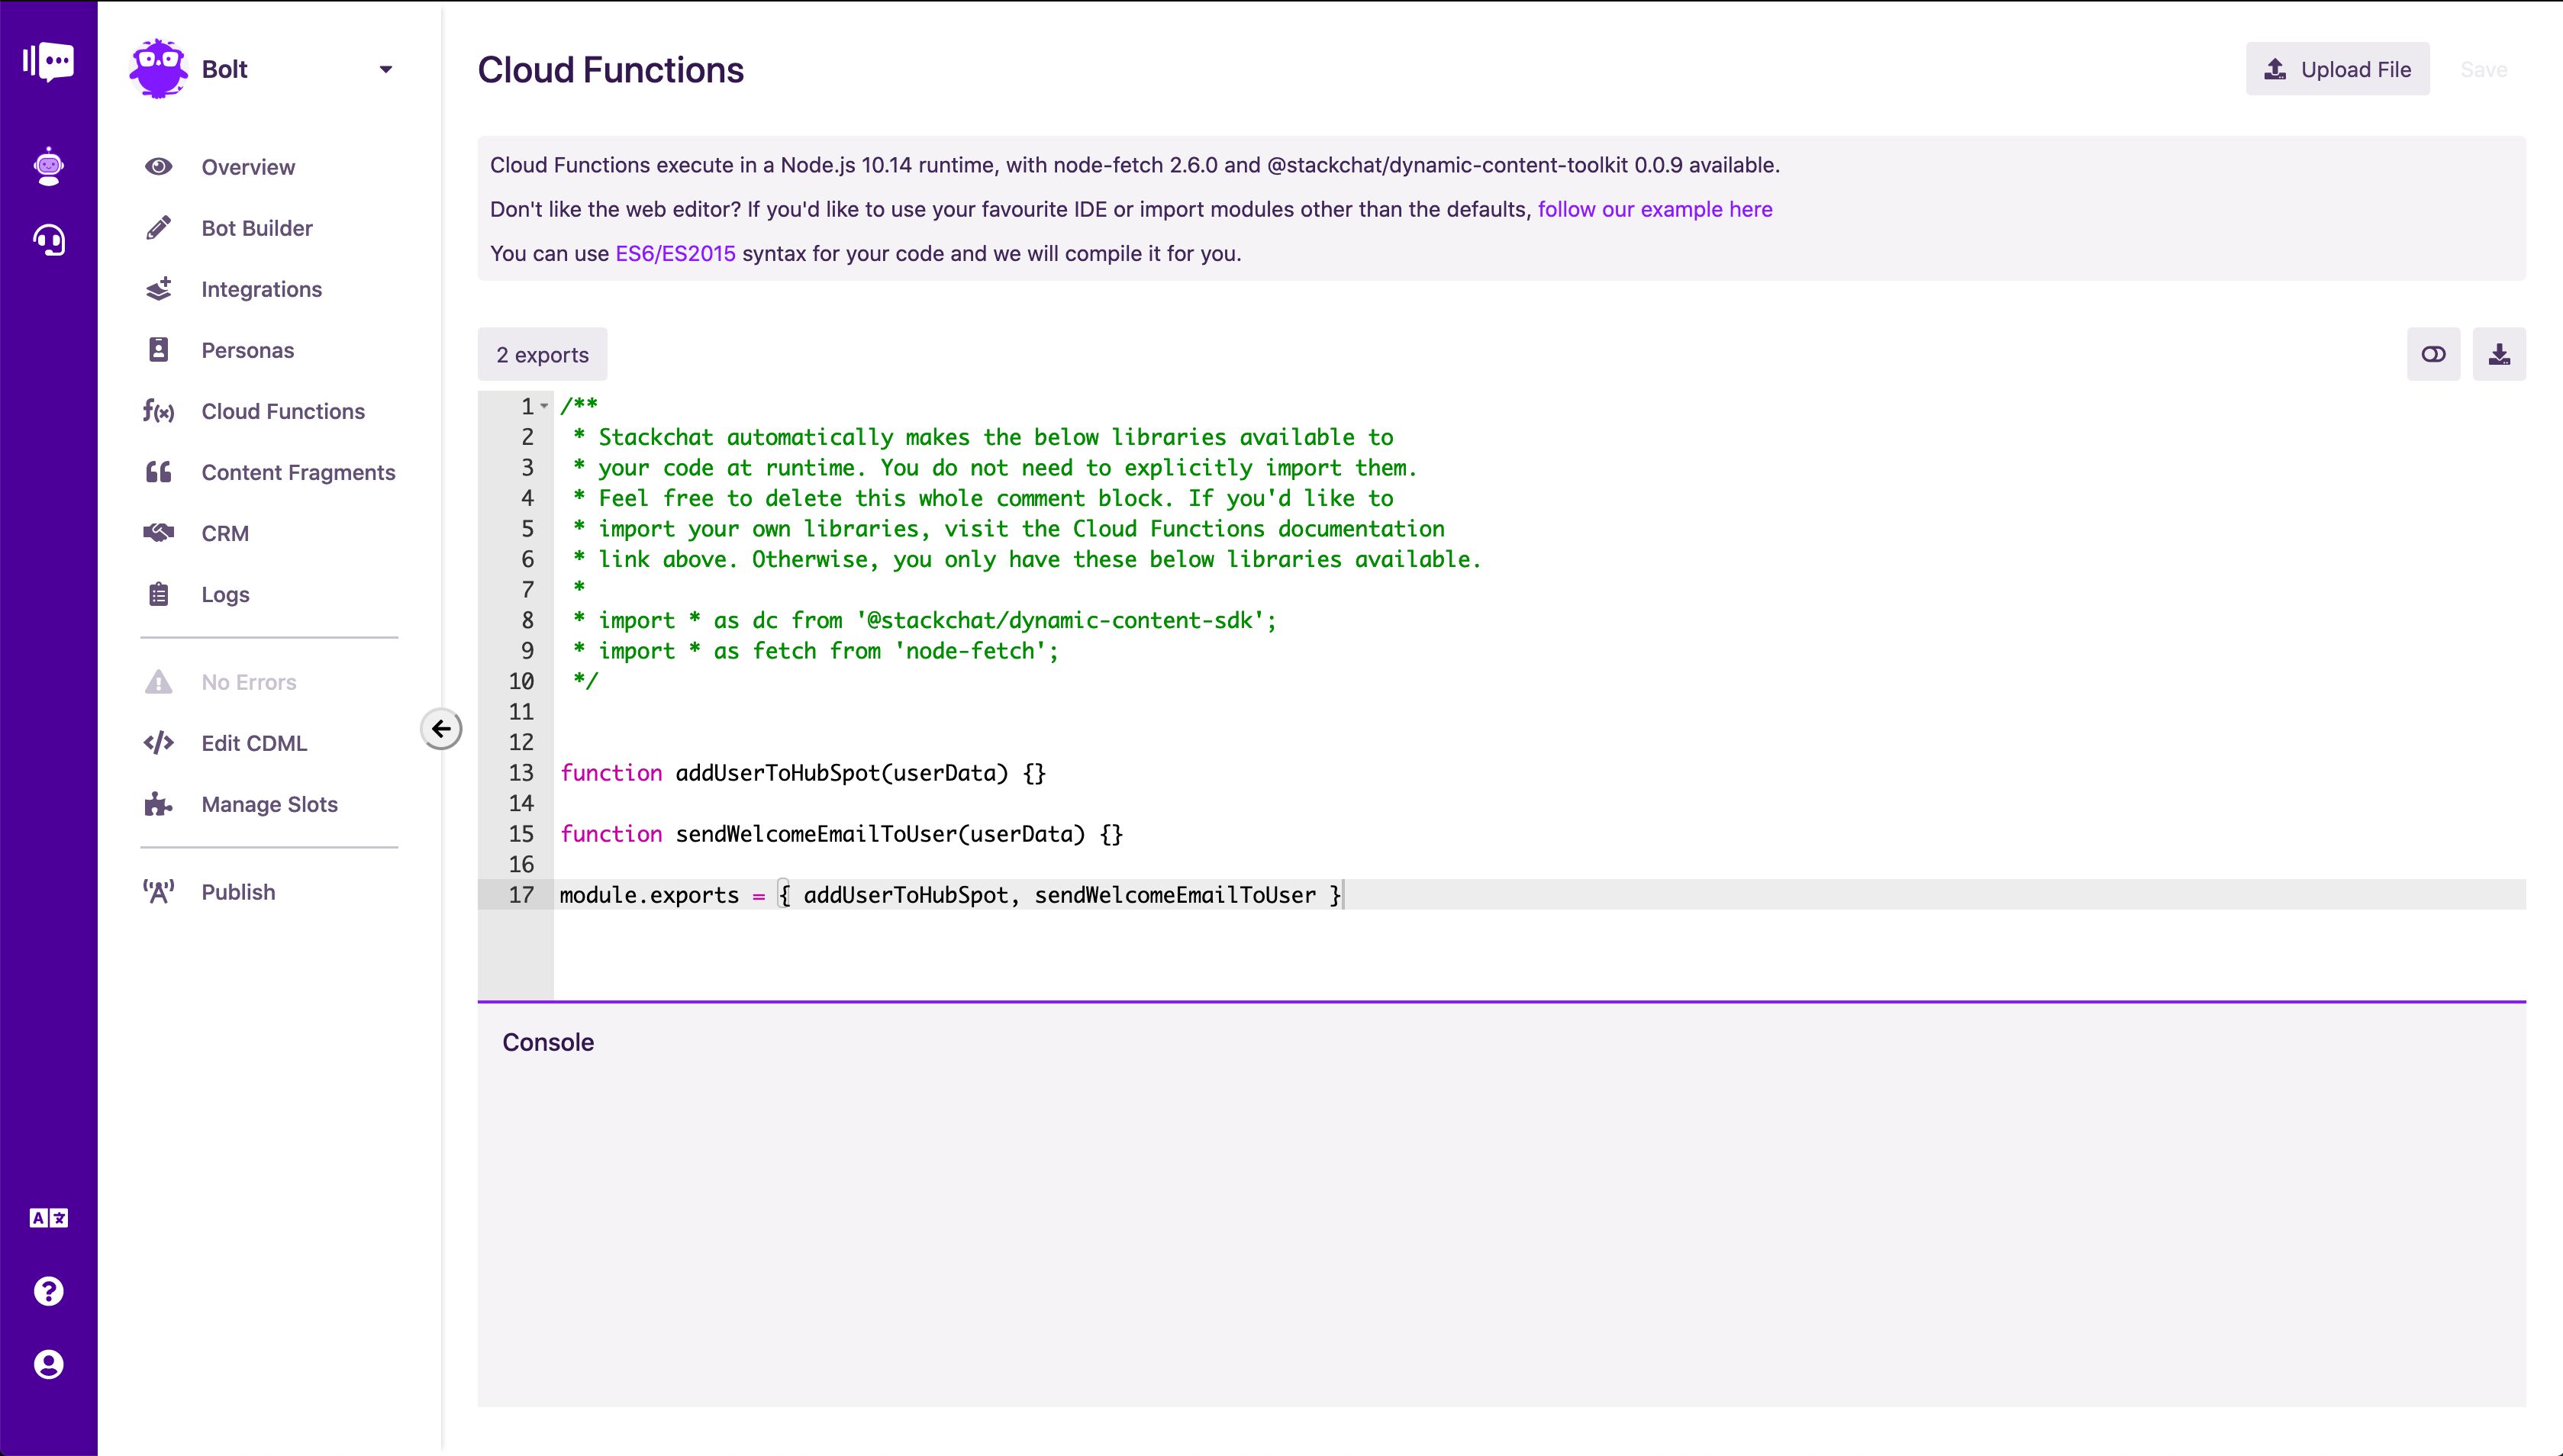 Bolt with no errors
Now let's start with adding the user to HubSpot.
Note 1: The
userDataparameter is provided to every cloud function on every invocation. Read more here.Note 2: While using the built-in editor,
@stackchat/dynamic-content-toolkitandnode-fetchare already available to us:
1/**2 * Stackchat automatically makes the below libraries available to3 * your code at runtime. You do not need to explicitly import them.4 *5 * import * as dc from '@stackchat/dynamic-content-sdk';6 * import * as fetch from 'node-fetch';7 */8
HubSpot provides a Contacts API that allows us to create a new contact in our organisation. Let's implement that.
1function addUserToHubSpot(userData) {2 const {slotData} = userData3 const name = slotData["name"]4 const email = slotData["email"]56 // You can get an API key for HubSpot from their7 // developer's section.8 fetch(9 `https://api.hubapi.com/contacts/v1/contact/?hapikey=<YOUR_API_KEY_HERE>`,10 {11 method: 'POST',12 body: JSON.stringify({13 properties: [14 {15 property: "email",16 value: email17 },18 {19 property: "firstname",20 value: name21 }22 ]23 })24 }25 )26 .then(res => res.json())27 .then(response => {28 // do something with response29 })30 .catch(err => {31 // handle error32 })33}34
We do not need to worry about returning anything back. Returning from a cloud function is required only when you would like to override the set navigation target after the execution is complete. Add in the above implementation and save.
Congratulations 🎉🎊! You've just written your first cloud function.
Next, we need to send the new subscriber a welcome email if they have agreed to it. We have configured the bot such that the cloud function is only invoked if the user agrees to sign up for our newsletter.
Let's get to implementing that one. We will use SendGrid, a popular email delivery service to send the email to the user.
1function sendWelcomeEmailToUser(userData) {2 const name = userData.slotData["name"]3 const email = userData.slotData["email"]45 fetch(6 `https://api.sendgrid.com/v3/mail/send`,7 {8 method: 'POST',9 headers: {10 'content-type': 'application/json',11 'authorization': 'Bearer <<YOUR_API_KEY_HERE>>'12 },13 body: JSON.stringify({14 personalizations: [15 {16 to: [{17 email,18 name19 }],20 subject: "Hello from Bolt!"21 }22 ],23 from: {24 email: "support@boltbot.com",25 name: "Bolt Bot"26 },27 content: [28 {29 type: 'text/plain',30 value: "Hi there!\n\nThis is just a email to welcome you to the Bolt family. I'll start sending newletters as and when we push them.\n\nThanks for signing up.\n\n-Bolt Bot"31 }32 ]33 })34 }35 )36 .then(res => res.json())37 .then(response => {38 // handle response or ignore39 })40 .catch(err => {41 // handle error or ignore42 })43}44
Now you are all set. Ensure you have entered your real API Keys instead of the demo ones and then publish Bolt ⚡️
After the publish is complete, chat with Bolt to see your data being stored in HubSpot and emails being delivered via SendGrid 😀
I hope this gives you a great starting point for your own cloud functions. Built-in editor or otherwise, you can customise your bot to your heart's content so that your users get the best possible experience.